Crafty Christmas Magic: DIY Delights for Your Tree!
Hey crafty elves and DIY enthusiasts! ’Tis the season to get your creative juices flowing and add a sprinkle of personal touch to your Christmas tree. So grab your glue guns, glitter, ribbons, and your most festive playlist — we’re diving into the wonderful world of handmade ornaments.
Think of this as Santa’s workshop… but without the overtime.
1. Gather Your Supplies: Your Craft Kit Checklist
Before you embark on your ornament-making adventure, it’s time for a mini treasure hunt — also known as raiding your craft stash.
Here’s what you’ll want to gather:
- Clear ornaments (plastic for kids, glass for fancy vibes)
- Acrylic paints
- Paintbrushes or sponges
- Ribbons & bows
- Glitter (the sparkly kind that gets everywhere — worth it)
- Stickers, sequins, or rhinestones
- Craft glue or a hot glue gun
- Air-dry clay (for later projects)
- Cardboard or wood shapes
- A smile because crafting is supposed to be fun 😄
Pro tip: Put everything on one table so you can craft like a whirlwind elf without getting up 10 times.
2. Painted Perfection: Transforming Blank Ornaments into Art
Clear ornaments are basically mini canvases — and you’re the artist.
Here are fun painting ideas:
- Classic Christmas colors: red, gold, green, and white
- Snowy wonderland: icy blues, silver accents, tiny snowflake designs
- Marbled effect: drip a few different paint colors inside the ornament, swirl slowly, and watch magic happen
- Splatter paint: take a small toothbrush or brush and flick paint for a Jackson-Pollock-meets-Christmas vibe
Once dry, you can add words like:
✨ Joy
✨ Peace
✨ Ho Ho Ho
✨ Your name or year
Pro tip: Turn the ornament upside down on a cup to let paint drip and dry smoothly.
3. Glitter Galore: Because Sparkle Is a Christmas Essential
What’s Christmas without a little… okay, a lot… of glitter?
Here’s how to glitterify your ornaments without making your whole house sparkle for eternity (no promises though):
- While your paint is still wet, roll or sprinkle glitter all over the ornament.
- Gently shake off excess glitter.
- Seal with a clear varnish or Mod Podge to keep the glitter in place.
Fun ideas:
- Gold glitter for a luxurious vibe
- Red & green mix for traditional cheer
- Iridescent glitter for “frosty ice crystal” vibes
Even Rudolph would be jealous of these shimmering masterpieces.
4. Photo Memories: Turning Your Tree into a Storybook
Why should family photos stay on walls when they can hang on your tree?
Here’s what to do:
- Print your favourite pictures (small size).
- Cut them into festive shapes: circles, stars, ornament shapes, hearts.
- Glue them onto cardboard or wooden cutouts.
- Add borders using ribbon, glitter lines, or sequins.
- Finish with a bow and a loop for hanging.
Bonus magic:
Label the back with the year — it becomes a time capsule you’ll treasure every Christmas.
Imagine decorating the tree and laughing about baby photos, vacation moments, and awkward bangs from grade 7.
5. Cutesy Clay Creations: Handmade Keepsakes that Last Forever
Air-dry clay is a Christmas craft MVP — no oven needed, and the possibilities are endless.
Try making:
- Snowmen
- Tiny ornaments
- Christmas trees
- Your pet’s paw print (adorable!)
- Initials
- Mini gingerbread people
Steps:
- Mold your shape.
- Use a straw to poke a hole for hanging.
- Let the clay air dry completely.
- Paint with acrylics.
- Seal with varnish so they last for years.
These become keepsakes — the kind you’ll rediscover in a box and smile at.
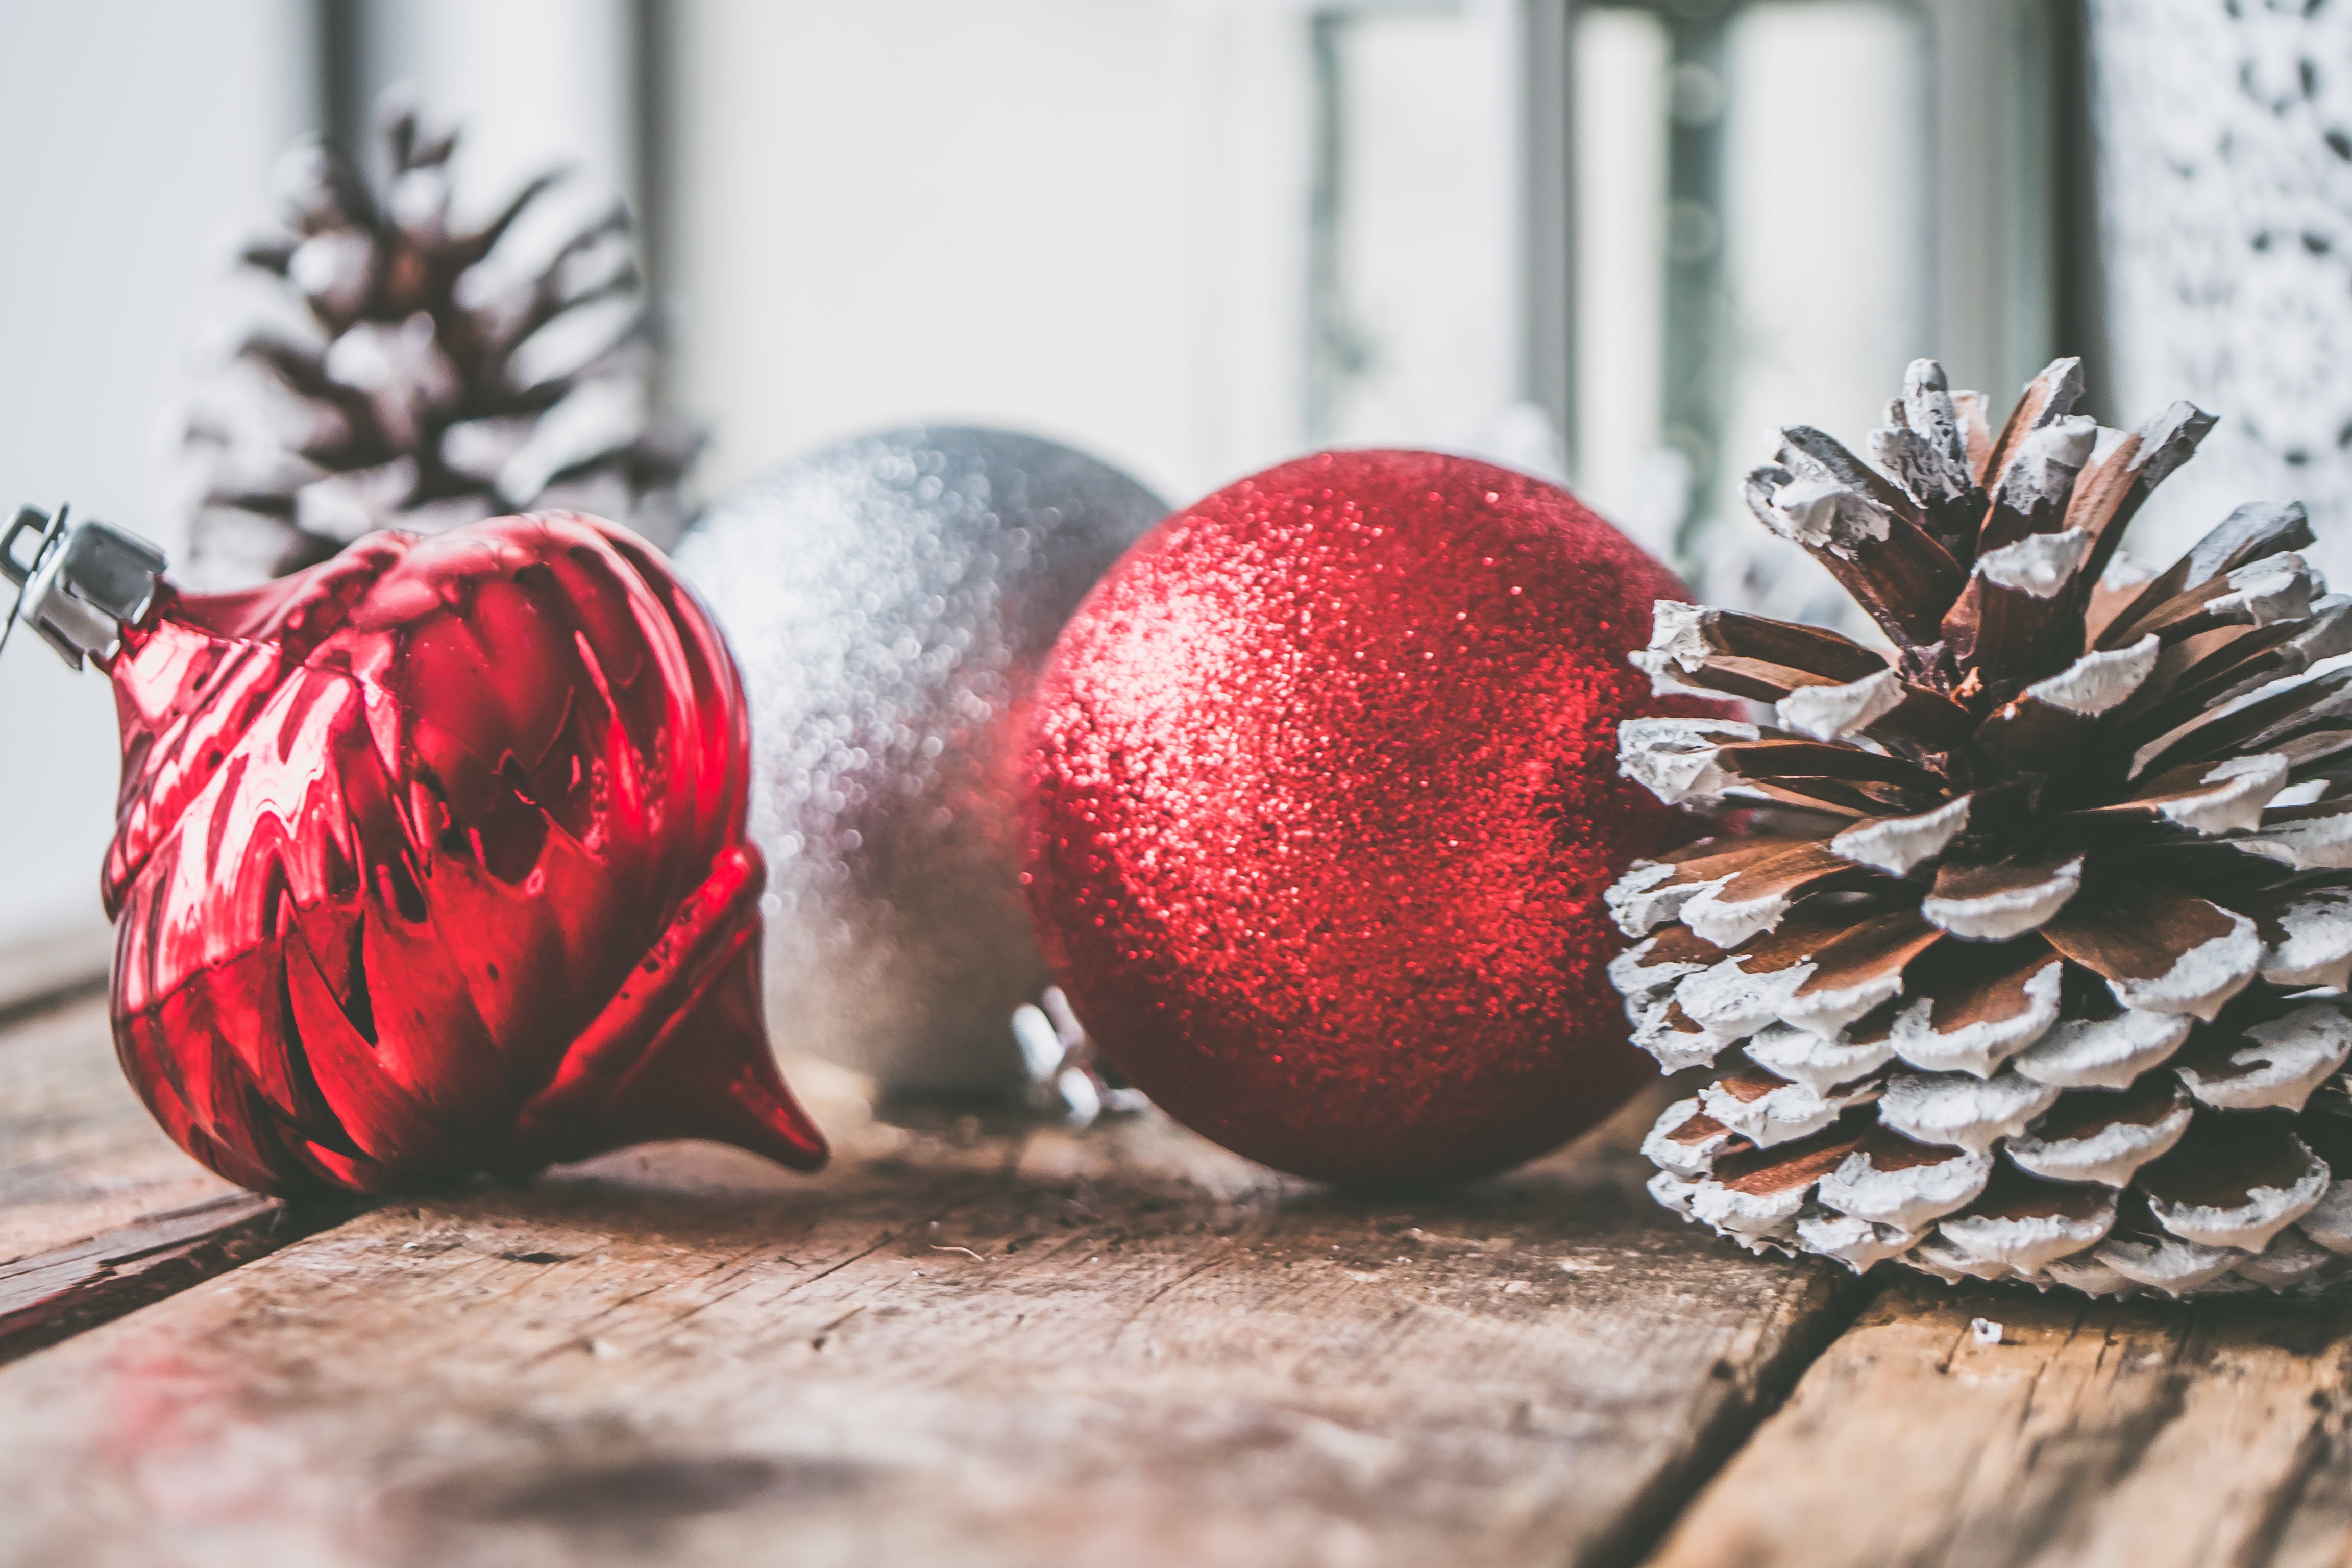
6. Nature’s Touch: Rustic Ornaments Straight from the Outdoors
Sometimes the best decorations come from just outside your door.
What to gather:
- Pinecones
- Twigs
- Leaves
- Acorns
- Small branches or bark pieces
Ideas:
- Paint pinecones white for “snow-dusted” effect
- Glue twigs into star or snowflake shapes
- Paint leaves gold or silver and attach with ribbon
- Make mini woodland scenes inside clear ornaments
These bring a warm, cozy, Canadian-cabin vibe to your tree.
Mother Nature approves.
7. Message in a Bauble: Secret Wishes for the Season
This one is magical and meaningful.
Here’s how to do it:
- Cut a small strip of paper.
- Write your Christmas wish, a goal, a quote, or even a funny message.
- Roll it up tightly like a tiny scroll.
- Slip it inside a clear ornament.
- Add fake snow, confetti, or glitter around it.
- Seal and hang!
You can do this as a family tradition every year — open them next Christmas and see what came true.
Photo by Jessica Lewis: https://www.pexels.com/photo/three-red-and-gray-bauble-ornaments-748653/